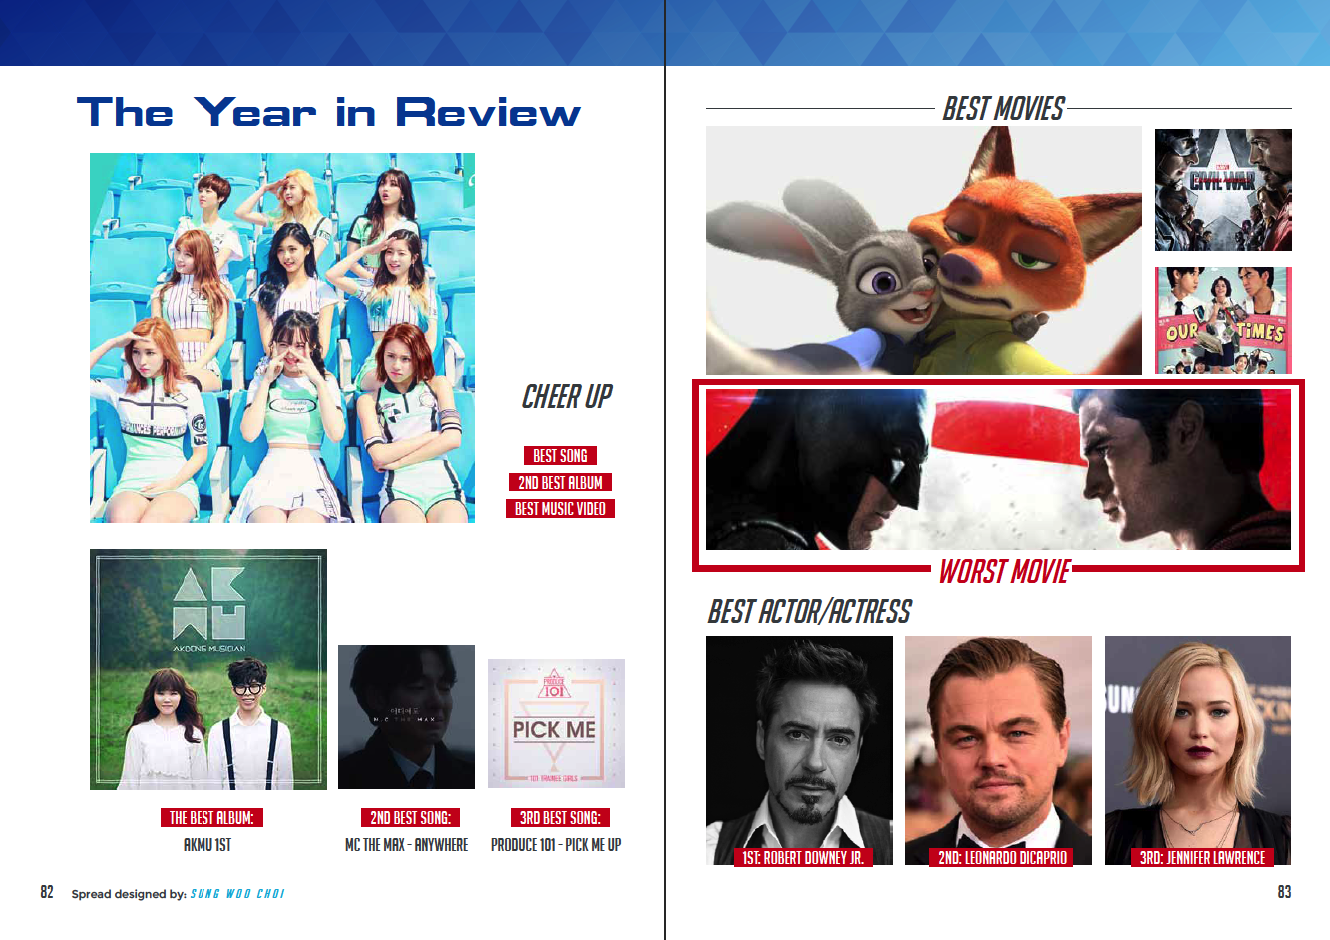
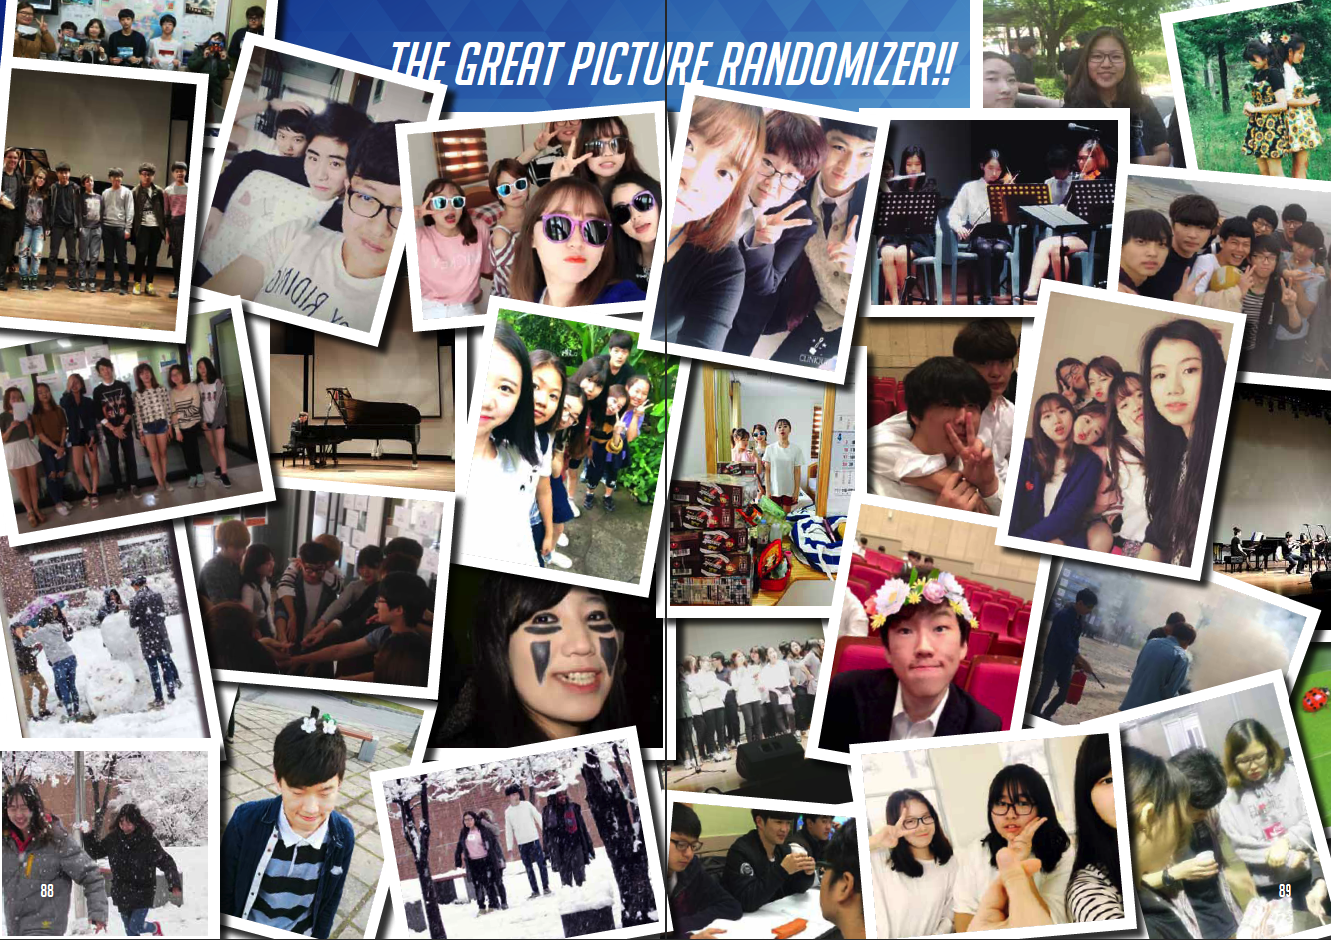
This year at the international high school I work at, I was given a class called “Yearbook.” So, obviously, the final deliverable for the class was a Yearbook.
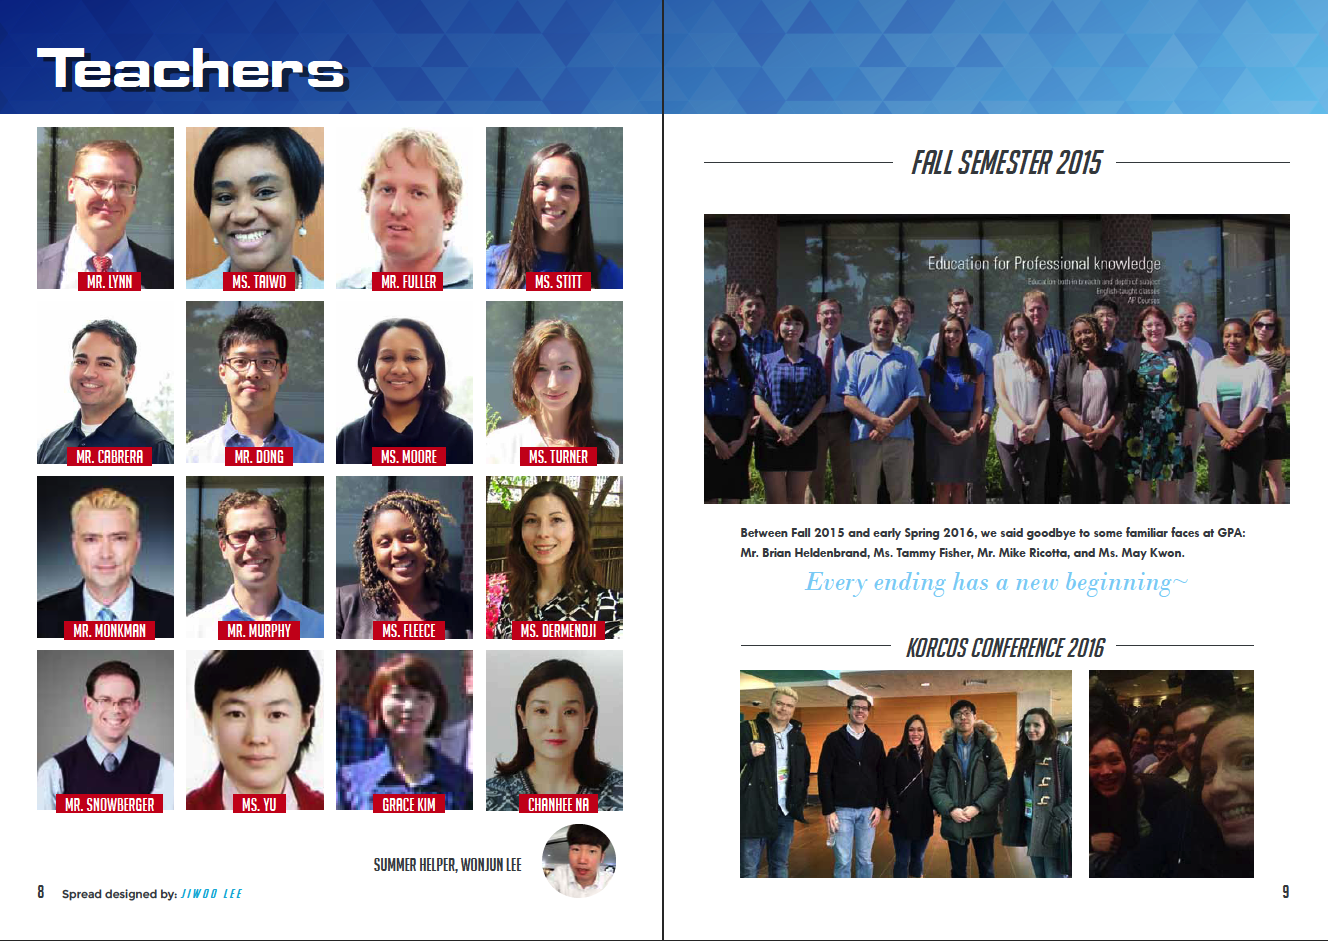
The Yearbook is 90 pages long and contains 459 images. Each student was in charge of designing at least one 2-page spread for a total of around 30 pages of student work!
- I managed the design, created the templates, color palette, and font styles.
- Then, I combined all the student contributions together and made sure the style was consistent throughout.
- Finally, I created a website where students would be able to download it.
Check out the website here or my portfolio post about it here.
The following are notes about the Yearbook class and the Yearbook design process.
Step 1: Graphic Design 101
I wanted to introduce the students to good design practices (things like choosing colors and fonts that don’t clash and not stretching images). I found Canva’s Design School had 30 easy, beginner-level graphic design tutorials that went through all the basics I was after. I supplemented their tutorials with my own assignments until right around midterm test time. Here’s the order of major topics we covered:
- Fonts (vocabulary, serif/sans-serif/script design styles, font pairing)
- Colors (vocabulary, the color wheel, color theory & emotive adjectives, color palettes)
- Images (legal use of images from the Internet, Creative Commons Zero images)
- Layout (balance, use of white space, common design elements and font styles)
- Infographics (use of icons to convey ideas, simplification of complex topics, layout)
Step 2: Newsletter Design Practice
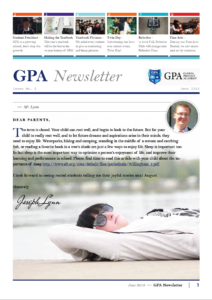
Around the time we started working on Layout, I began to introduce newsletter design to the students as well. The following is a list of the newsletters we worked on, the programs we designed in, and their contributions to each:
- March 2016: Google Docs (or MS Word) – students each designed 2 article layouts
- Infographic Design: Canva.com, Google Slides, or MS Publisher (student choice)
- April 2016: First introduction to InDesign – everyone made the same design together in class and we added their Infographics to the newsletter
- June 2016: Fully student-written and student-designed (using a template with margins, guides, font styles, and color palette I provided them)
Step 3: Yearbook
In order to adequately prepare for the Yearbook, I also had the students go through a number of assignments:
- Gather inspiration by looking at a number of different Yearbook designs
- Fill out a survey indicating how they would like it structured and designed
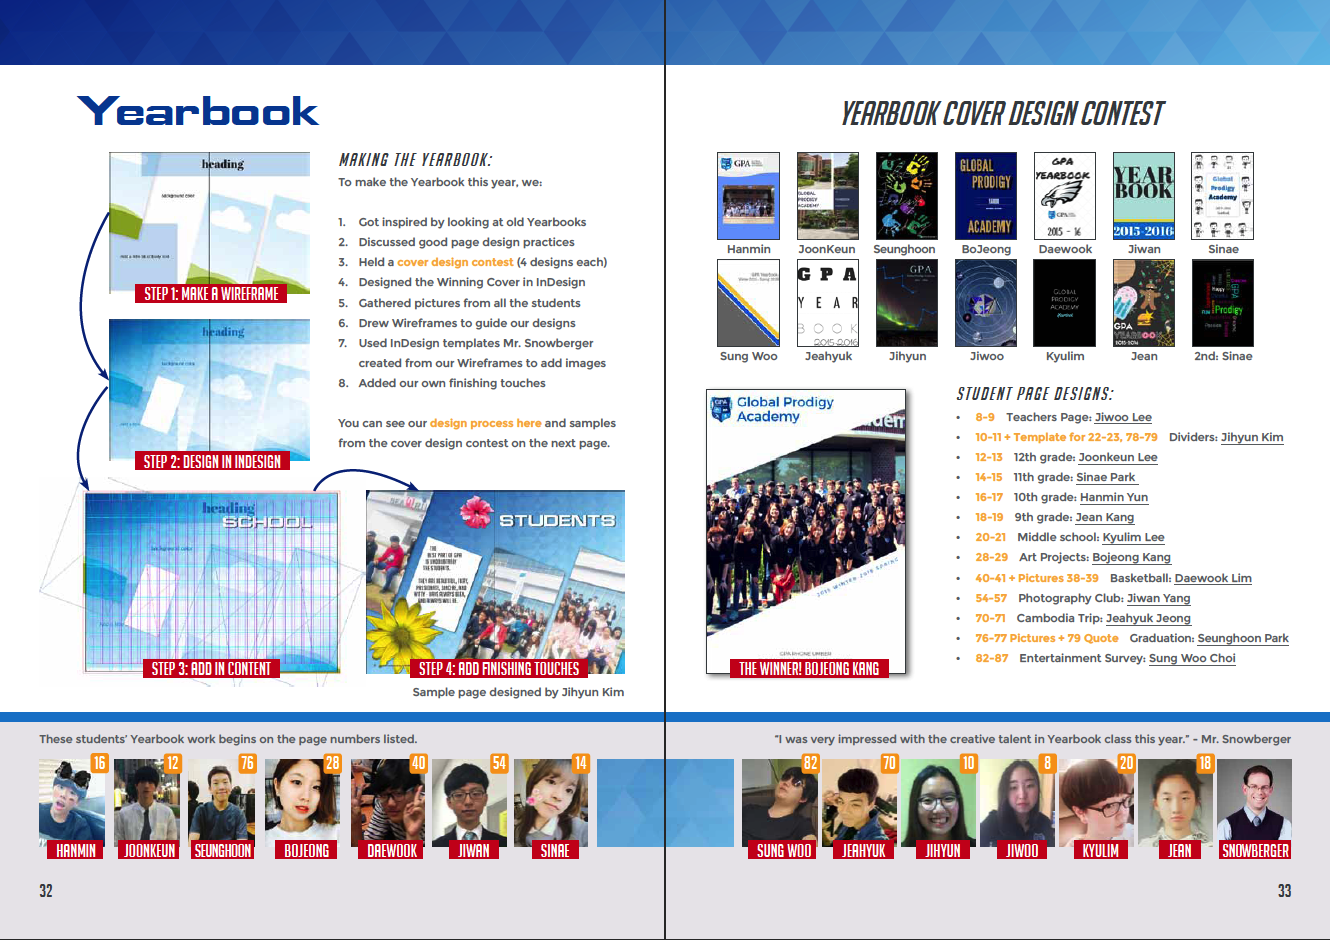
- Create 4 different, individual Yearbook covers and vote on the best:
- Big Book Look (graphics and text covering the entire page)
- Typographic Look (focusing on font choice and design)
- Abstract Look (focusing on shape and color)
- Illustrative Look (more graphical, photography was allowed only here)
- Follow my lead (in class) as we redesigned the winning cover in InDesign
- Design a special logo for the Yearbook in InDesign based on the Overwatch video game logo (following my lead)
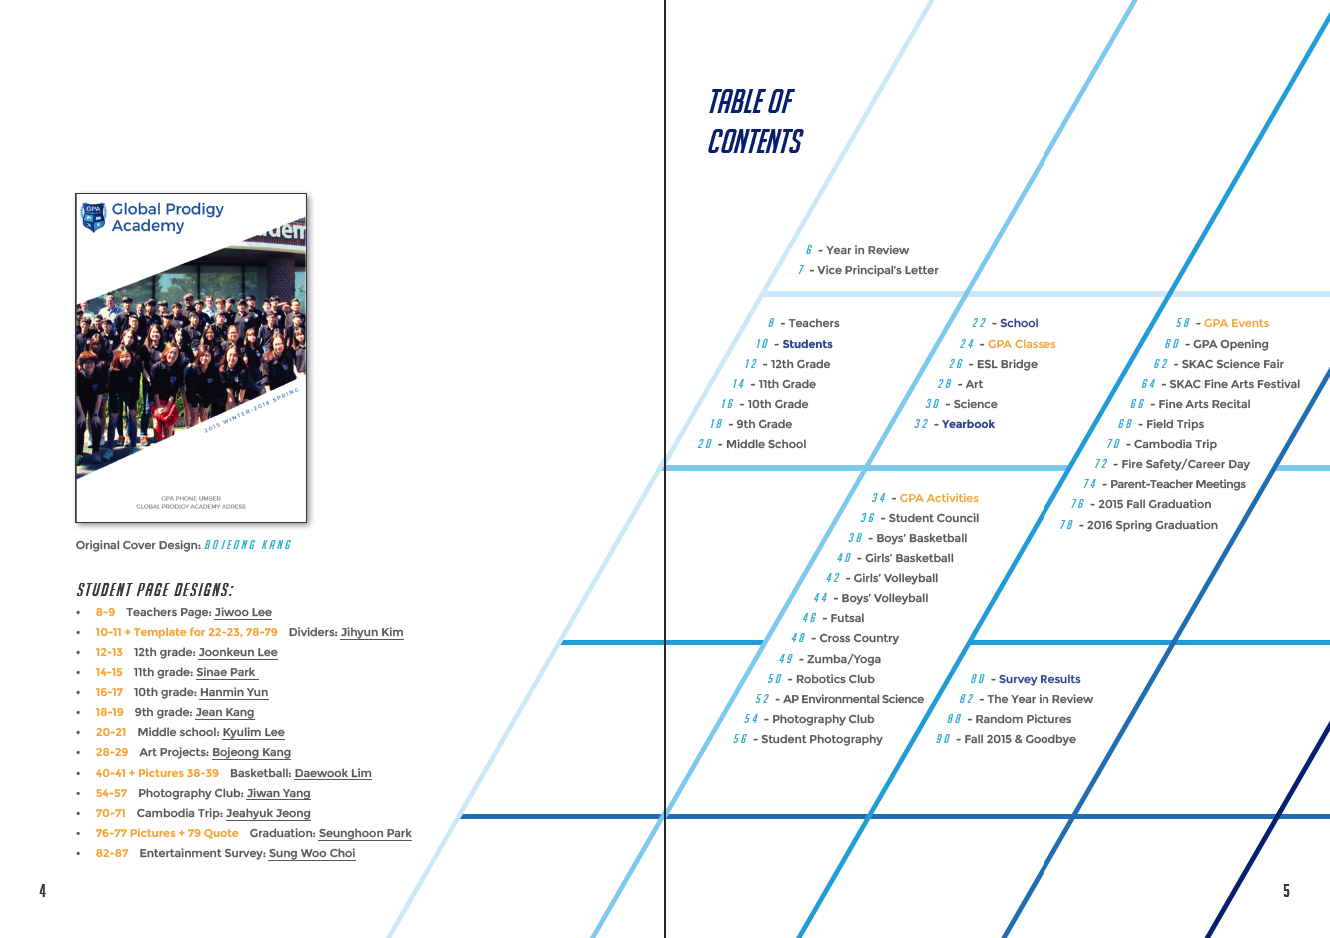
- Finalize the Table of Contents and choose a spread for each student to design
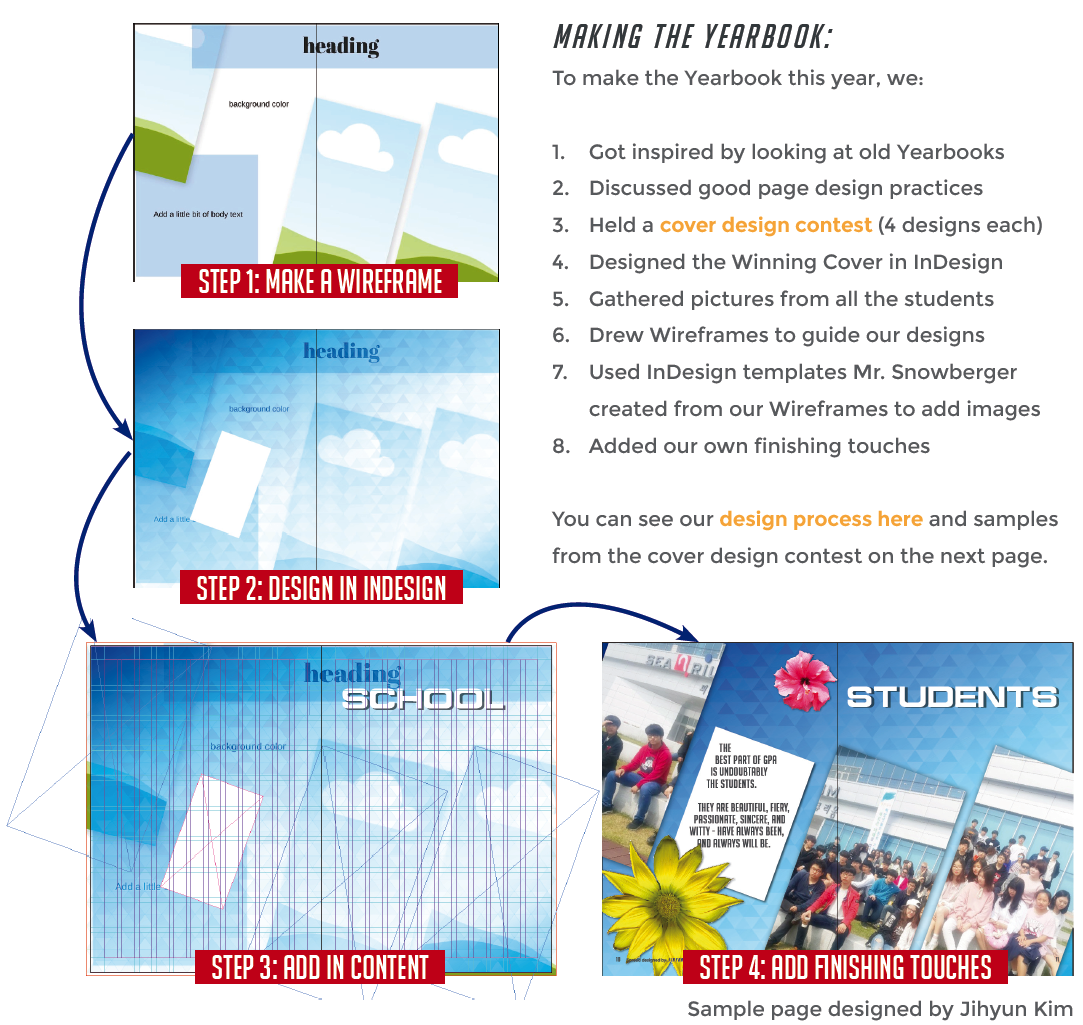
- Create a wireframe for their spreads in Canva or Google Slides – which I then recreated in InDesign for them to use as a template
- Download their own InDesign template, fill in the required information and photos, and add their own finishing touches
I was very impressed with the creativity of many of the students. Some even designed their ENTIRE Yearbook contribution from scratch (one student did 6 pages himself!).
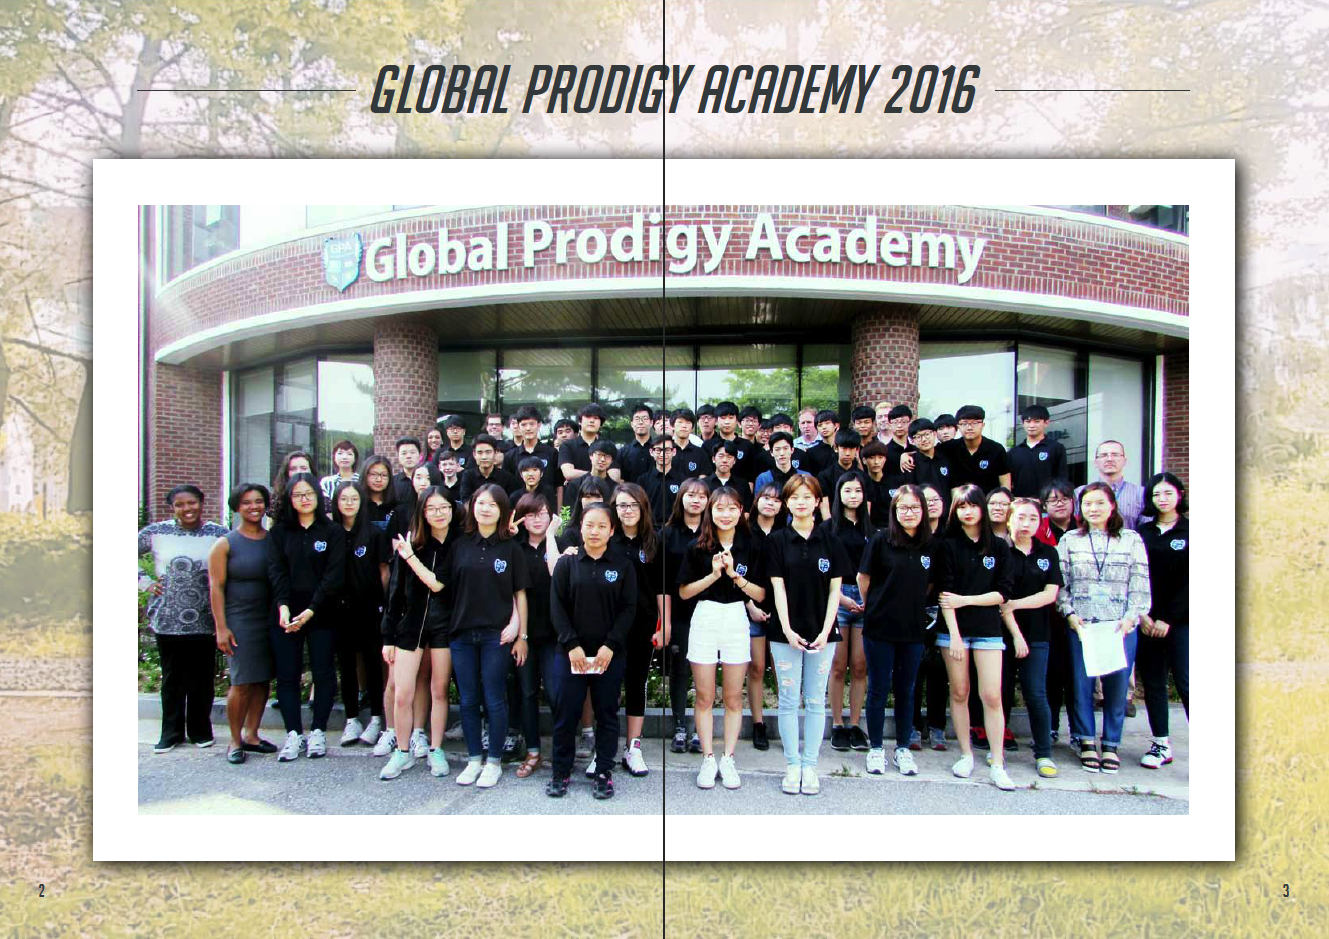
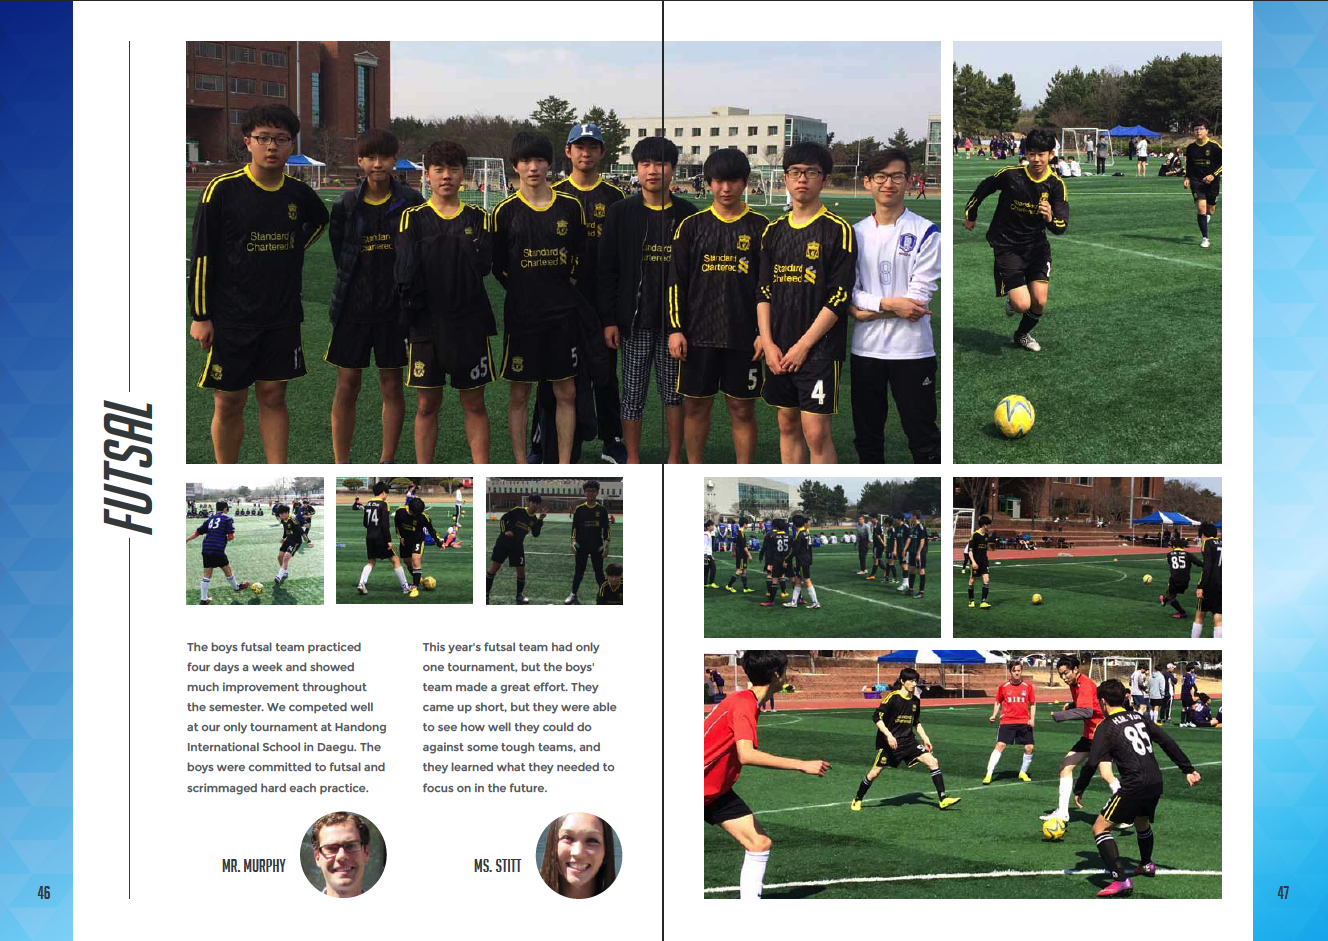
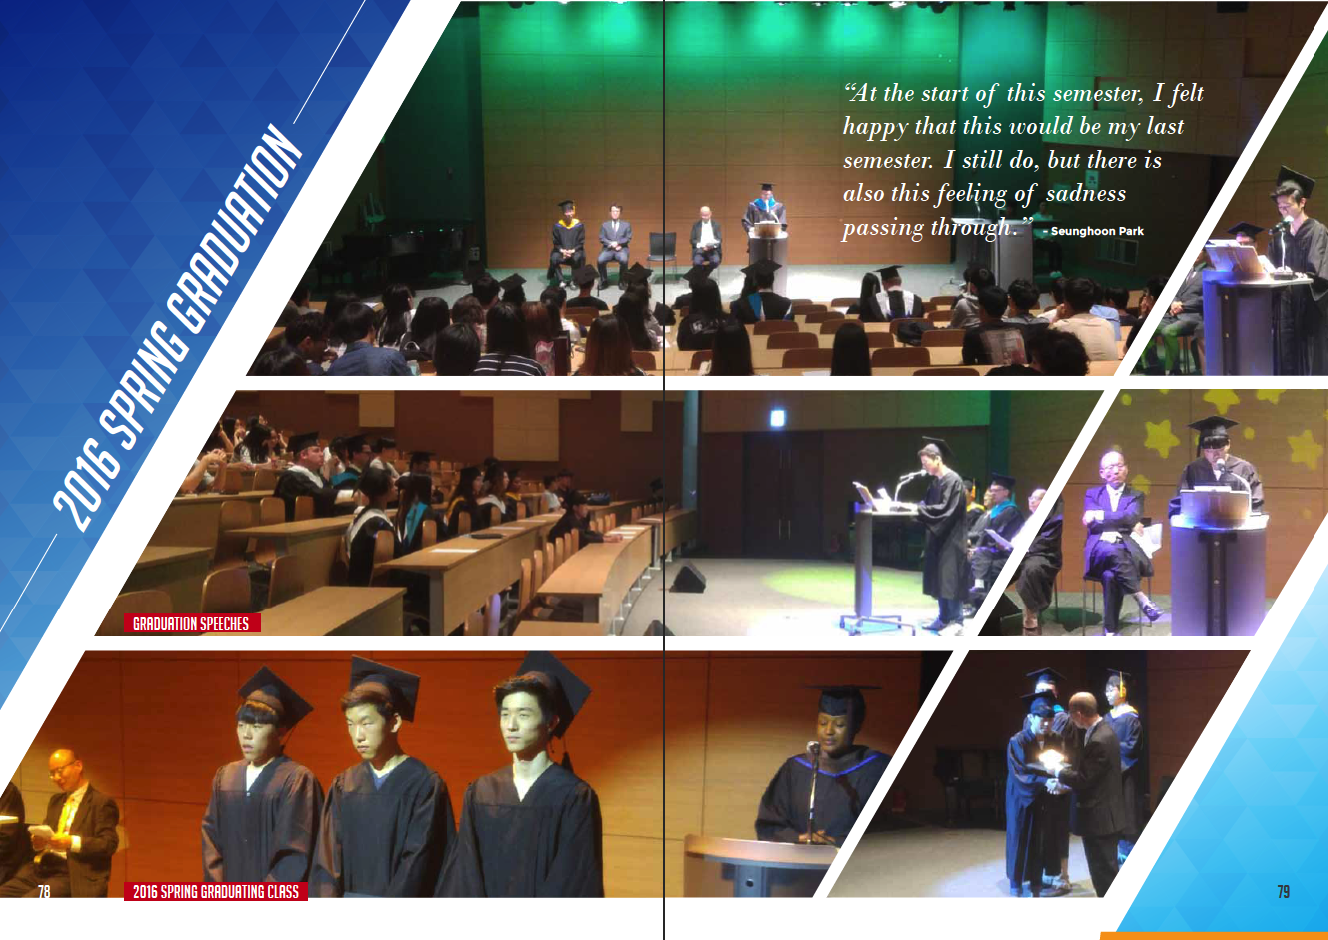
Sample Pages
Alternate Cover Design
The following gallery shows the original yearbook cover, an alternate version, and the inspiration for each.
Download
If you would like to download a copy of the Yearbook (or any of the student newsletters), please visit the website to do so:


